How to Clear DNS Cache, I will tell you in detail in our article. When the domain nameserver is changed, or your site’s IP address is changed, most of the time, the site opened by others will not open on your computer because of the DNS cache. The reason for this is that you have logged into this site before, the site’s DNS information is saved in your computer’s DNS cache, and the next time you want to log in,
How do we clear the DNS Cache?
How to Clear DNS Cache Windows 8 – Windows 10
- Open WinX Menu with Win+X keys.
- Right-click the Command Prompt link and select Run as Administrator.
- Type ipconfig /flushdns and press Enter.
- Type ipconfig /release and press Enter.
- Type ipconfig /renew and press Enter.
- If the operation is successful, you will receive the following message:
- Windows IP configuration successfully flushed the DNS Resolver Cache.
ipconfig /flushdns
ipconfig /release
ipconfig /renew
macOS 10.7 and 10.8 Clear DNS Cache
- Click on Applications.
- Click Tools.
- Double-click the Terminal application.
- Type sudo killall -HUP mDNSResponder and hit enter.
- Warning: You must know the computer’s administrator password to use this command.
How to Clear DNS Cache in Google Chrome
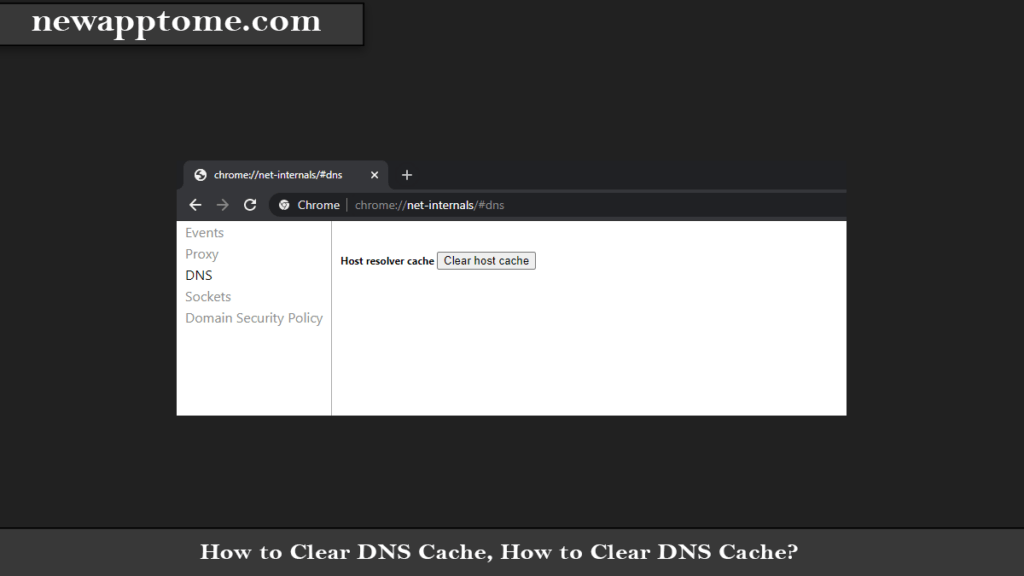
How to Clear DNS Cache on Google Chrome is very easily. Chrome DNS cache Clear, copy the following address into the browser’s address bar and press Enter.
chrome://net-internals/#dns
Then click the “Clear host cache” button.

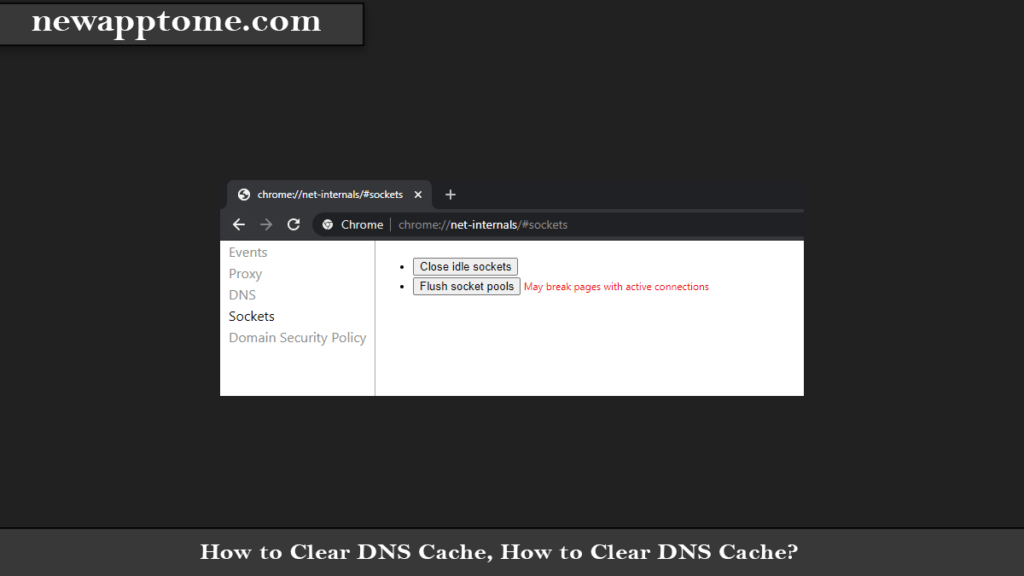
Then go to the “Sockets” tab; here, click the “Close idle sockets” and “Flush socket pools” buttons. That is all.

It will also be helpful to clear the Chrome Browsing data later. Enter the code “chrome://settings/clearBrowserData” in the Chrome address line and press ENTER. In the window that opens, select the “Browsing history and Cached images and files” options and click the “Clear Data” button.
[…] How to Clear DNS Cache on Your Computer […]
[…] How to Clear DNS Cache […]