Last time I looked at HubSpot’s Sales tool – when it was called Sidekick – the setup period just got a little easier.
In short, HubSpot sales, along with a collection of other powerful plugins, equips you with the information you need to create more meaningful emails (and send them at exactly the right time). Its purpose? To help you close valuable buyer candidates with higher efficiency.
Not only does it notify you when your contacts open or click links in your emails or are active on your website, it also pulls relevant information such as the latest social media posts or company details into your inbox. Useful, isn’t it?
There’s two tiers, a free version to get you started, and a paid ($50 per month) Professional tier when you see the benefits of HubSpot Sales and need a little more power in your arsenal. Second, it increases the number of notifications you can receive and adds additional tools like Sequences and placing calls directly from within your browser – these are saved and saved in HubSpot’s CRM of course!
So without further ado, let’s unpack this and test your setup. Okay, you’ll be done in no time and you’ll get the rewards in less than fifteen minutes!
STEP 1: AT THE START LINE
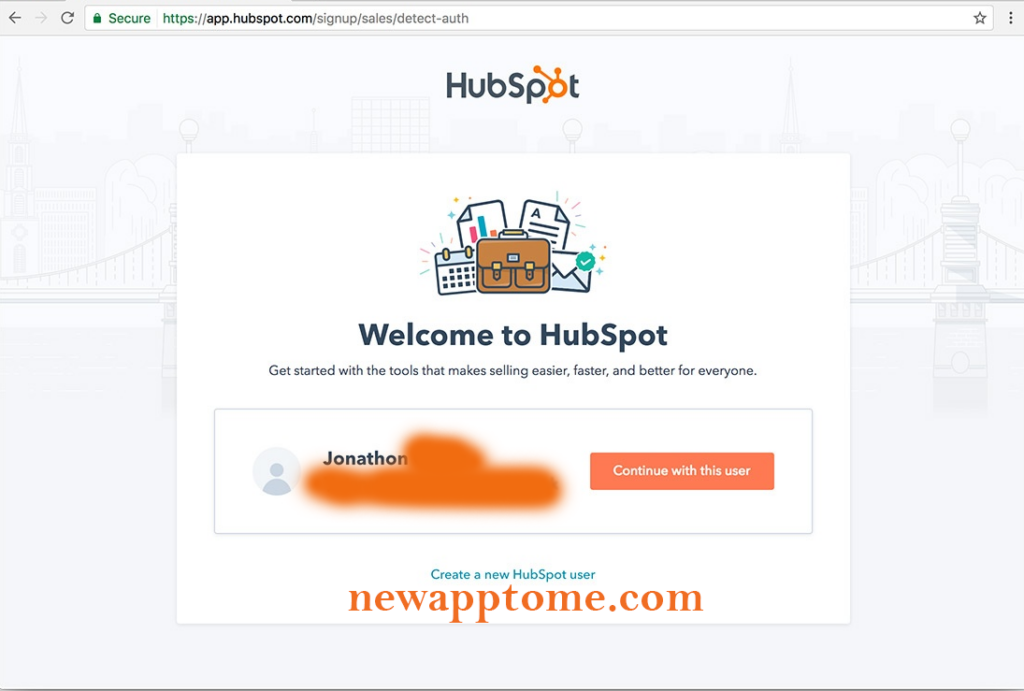
The first step is to sign in to HubSpot if you are an existing user or set yourself up as a new user.
Go to https://app.Hubspot.Com/signup/sales to get started.
If you’re already signed in to HubSpot, your account should be detected automatically – otherwise you’ll be prompted for your email address, company name, and website.
Enter your information and click the big orange button to continue…
If you have more than one HubSpot portal associated with your account, you may be asked which one you want to create for Sale. Typically, this will be your primary portal to your company.
It is important to choose the right one as this is the place where all activity will be recorded!

You will go through a wizard that asks some easy questions to help you get setup quickly. Next, you will be prompted to download and install the Chrome browser extension. This is the widget that works the magic of email monitoring, notifying you of opens and clicks on your emails and when people come to your website.
STEP 2: STAY A STEP AHEAD…
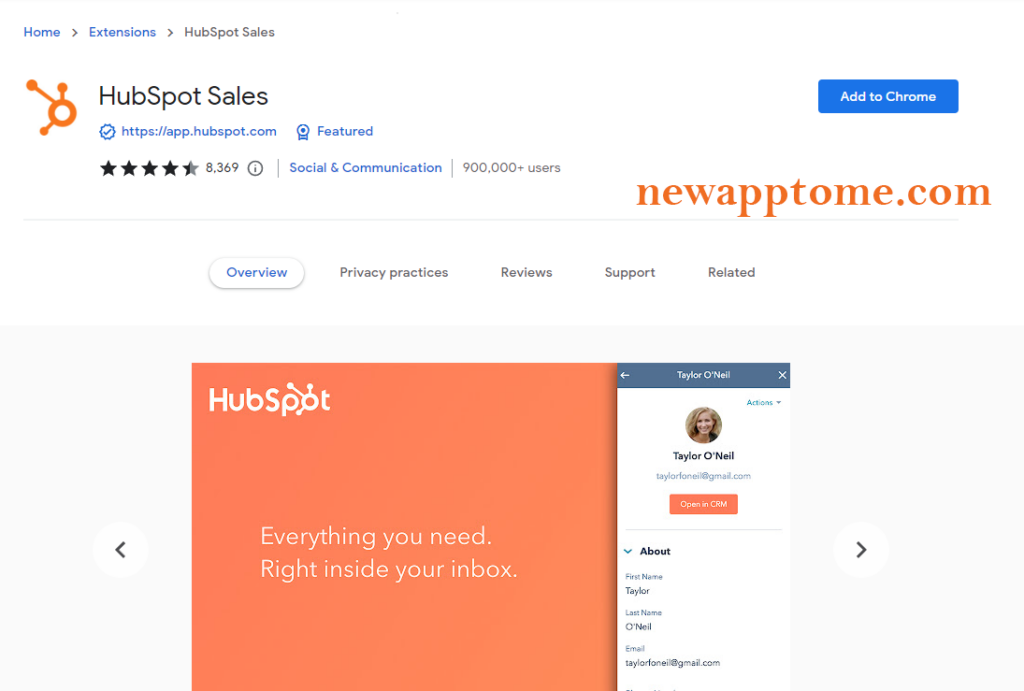
If you skip this step, you can return to this step at any time by installing the extension from the Chrome Web Store – it just makes sense to do it now.
https://chrome.google.com/webstore/detail/hubspot-sales/oiiaigjnkhngdbnoookogelabohpglmd
So go ahead and install the extension.
It is worth noting that this extension also adds some functionality when sending email with Gmail internet mail. You will be able to use templates for emails you send regularly and see additional contact information such as social profiles and company details as you compose new ones.

If you’re not using Google Chrome (perhaps you prefer Firefox or Safari) and you’re using Windows, you’re in luck. HubSpot has created an app for Windows that lets you continue to receive push notifications for opening and clicking links in your emails.
Download from here and double click the installer icon. The app will be added to your tray (with the clock, bottom right ?) where you can pause notifications when they get a little too much!
STEP 3: NOT GOING ON CHROME?
(If you’re using Outlook on Windows, continue! Otherwise this step may be skipped… skip directly to step four.)
download
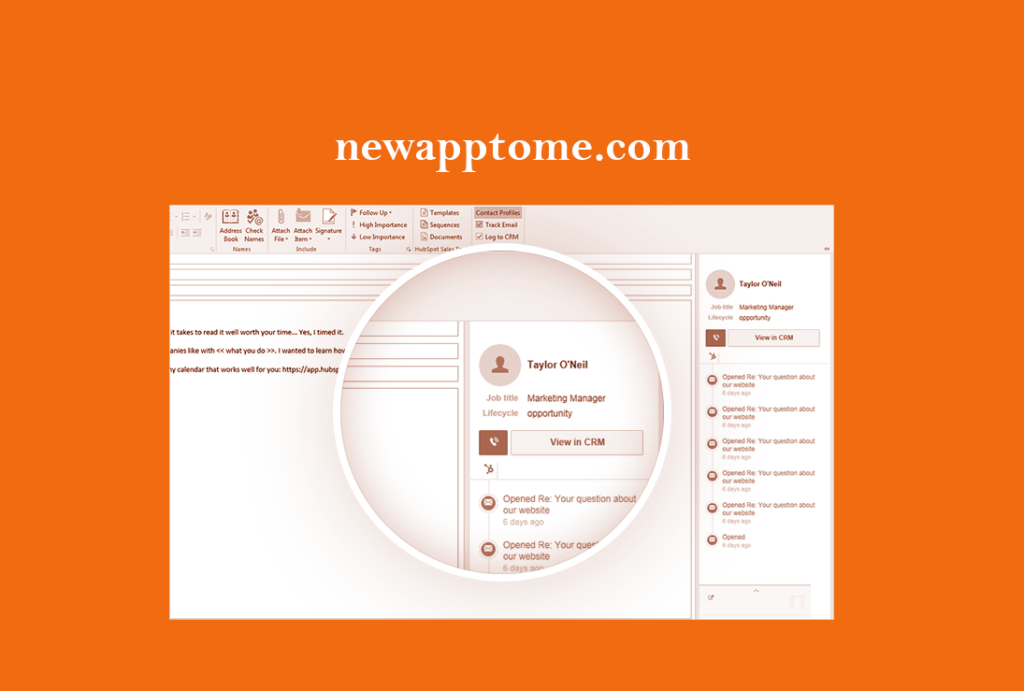
Now we’ll add to Outlook the same functionality that the Chrome extension gives you with Gmail – your contacts’ profile details are right in your inbox so you can easily view them while composing new emails.
Download the Outlook add-in from here, run the installer and believe you’ve started Outlook again.
app.getsidekick.com/outlook/download
You will be prompted to sign in with your HubSpot Sales account (from step one) and you should see the add-on appear on the ribbon (usually top right).

STEP 4: TESTING THE WATER
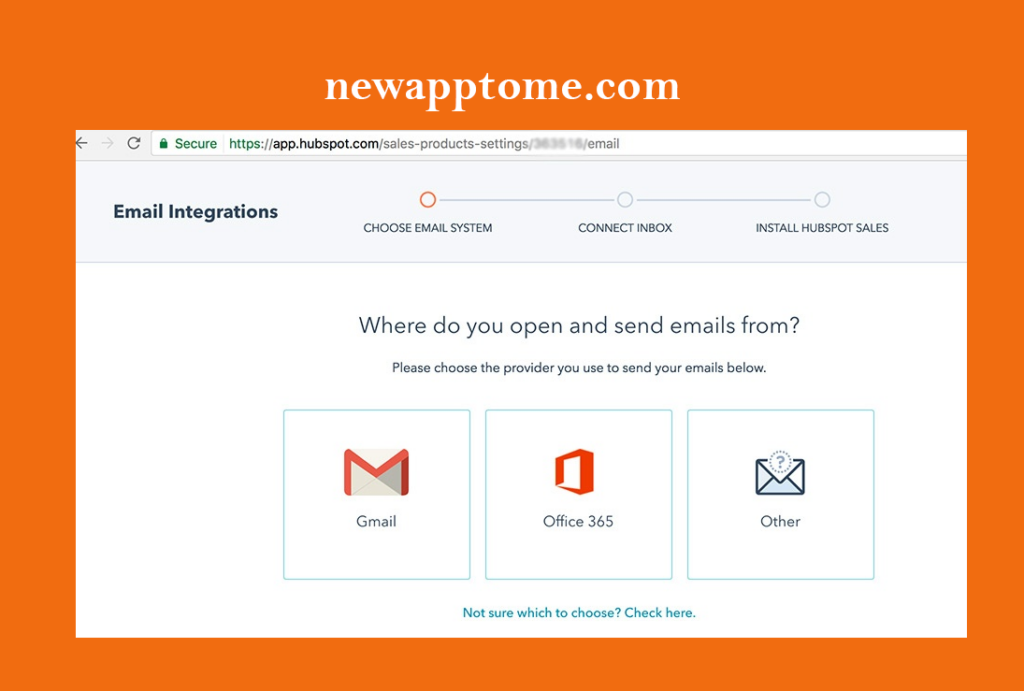
If you’re using Gmail or Outlook 365 webmail, you’ll want to authorize HubSpot Sales to log activity and watch emails in CRM.
Go to https://app.Hubspot.Com/sales-products-settings and select “Email Integrations” from the left menu and then “Connect your email”.
Choose Gmail or Outlook 365 depending on your preference and read the pop-up notification. This is important and tells you what HubSpot wants to access.
Then proceed to link your email with the click of a button. Simple.

We’re pretty close now, so hold on tight!
Then send an email to hello@getsidekick.Com from Gmail or Outlook to test things out. After a short while, you should receive a notification that it has been opened. If not, post any questions in the comments and I’ll be sure to support you!
STEP 5: WRAPPING
Now all that’s left is to customize what you’ve done and don’t want to see in your notifications, and jot down a few email addresses you might want to use later.
Click on the ‘HubSpot Extensions’ tab and skip to the Forwarding Addresses section.
You won’t be using the first two addresses (which are essentially the same) very often – all your emails will be automatically saved in CRM if you followed the previous steps.
However, if you find you need to log emails you send from other devices (like your phone or a colleague’s computer), you can BCC in CRM and HubSpot creates the contact even if it doesn’t already exist ?.
The next email address can be used to forward incoming emails to the CRM and log relative to the sender’s contact record. What’s more, your responses are automatically logged.
Now don’t get me wrong, I love this tool. But all these notifications can take a little too much!
So go to ‘Leader Revisit Notifications’ where you can choose to see all repeat visits only your own contacts or turn them off altogether and only be notified of email interactions; opens and clicks, etc.
YOU ARE READY…
Once you have successfully completed these five steps, you are ready to go. Emails should sync seamlessly with CRM and new records opened for people who aren’t already there.
The free tier of HubSpot Sales is technically limited to 200 notifications, so if you’re not a Pro user you may want to turn these things off per the above.
Recalibrate as I dive deep into the full feature set of HubSpot Sales tools, from Templates to Sequences to Scheduling emails and more.