

Hello everyone. Today, I am here with an article that will explain the use of the Chrome extension Nimbus Screenshot & Screen Recorder, which is a very useful and easy to use, but also an excellent tool. Nimbus screenshot chrome extension is easy. I guess many of you have heard of this application for the first time. Don’t be fooled by its name and assume that this app does just what the Printscreen key does. This application is especially useful for teachers who want to create educational content. You wish you had encountered this vehicle before. For example, would you like to save a large screen image that you want to share with your friends while browsing Web pages, with a single click, and take notes on it, make edits and share it as a single image file? If your answer is yes, let’s move on to the description of our application with even more features.
NIMBUS SCREENSHOT & SCREEN VIDEO RECORDER
You can use Nimbus to record videos of your entire desktop or browser tabs. You can also create videos using your webcam. You can create visual media by taking screenshots to capture whole web pages or just part of a page, thus saving time instead of writing. Let’s start with the installation of the plugin first.
Installing the Plugin
Step 1. First, go to the Chrome Web Store and search by typing Nimbus in the search bar or click this link I gave directly.
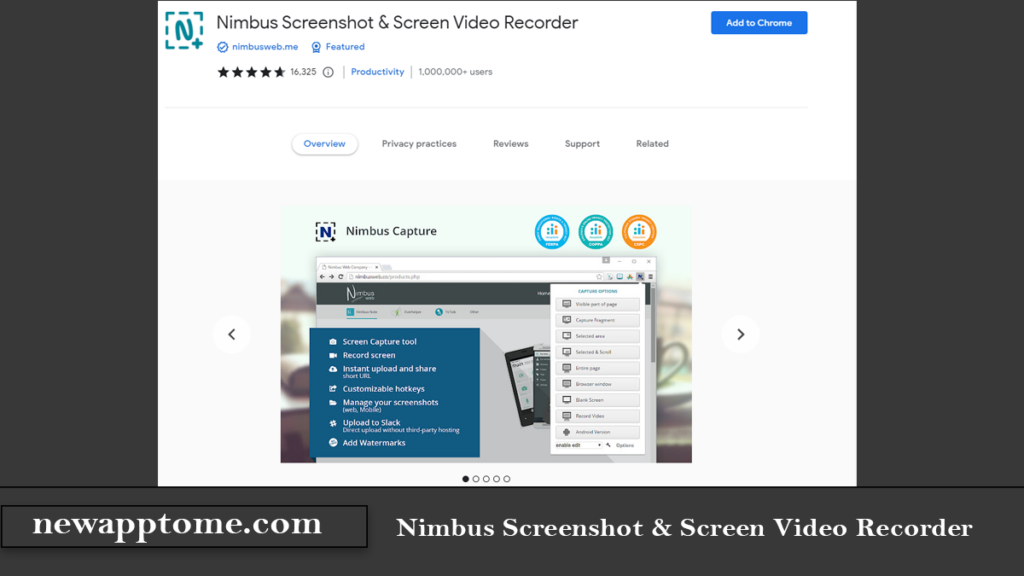
Step 2. You can start installing the add-on by clicking the Add to Chrome button on the screen that opens.
Step 3. After clicking the Add to Chrome button, when asked whether to add the extension in the pop-up window, click the Add Extension button.
Step 4. In a very short time, a new page will open in your browser and you will see a message like the one below, indicating that the Add-on has been successfully installed. That is all.
Getting Started with the Application
When you click on the Nimbus icon that you pinned to your browser, you will see an image similar to the one below. When you examine the image and see the variety of Screen capture of Nimbus, you will be surprised to see that it does much more than the print screen key does. And once you start using it, I’m sure it will become your favorite application.
If you take a look at the screen capture options, it will be easy to understand what they are for from their names. I will describe a few options here, and the use of other options will be similar. You guys can use the tool better than me, I trust you.
A. SAVING THE VISIBLE SECTION OF THE PAGE
I created the screenshot below by pressing the print screen key and saving it and pasting it into the paint program.
Now let’s see how to save the screenshot that will occur after clicking the visible part of the page button with Nimbus.
Step 1. After clicking the visible part of the page button, a new page opens in your browser where you can edit the visible part of the page. After making your edits, you can press the Done button.
Step 2. When you make the necessary adjustments and press the Done button, the Save Screenshot window will appear. In the image below, you can see the image I created using a few editing tools.
Step 3. Now it’s time to decide where to save your captured screenshot. You can save the screenshot you created to the Google Drive folder, Dropbox, directly to the printer, or a local folder on your computer. I prefer to press the Save as Image button to save it to a folder on my computer. If you want, you can also save the image as a pdf by using the same button. The choice is yours.
After pressing the Save as Image button, you specify the file name and where to save it in the window that opens and press the save button, and after editing the Visible Part of the Page, you save the screenshot you have captured to your computer. When you examine the image below, you will see that there are only parts that are visible on the screen, there are no other tabs in the browser or the start bar of your computer. I hope you have seen the difference between the screenshots I took with the print screen button above. It’s also nice to have the ability to edit. I suggest you review the editing tools.
B. SAVING THE ENTIRE PAGE
This option is nice. It allows you to save not only the visible part of the page you are on but also the other parts of the web page and save it in a single image file.
Step 1. Click the Nimbus add-on shortcut and run the Whole page command in the window that opens.
Step 2. After clicking the whole page command, sit back and wait for Nimbus to finish scrolling down the page for you.
Step 3. After capturing the whole page, the Nimbus edit window will open. After making the desired edits, you can press the Done button.
Step 4. You can save the resulting image to your computer by clicking the Save Image button in the Save Screenshot window that opens when you make the necessary adjustments and press the Done button.
In the image below, you can see the whole page image that I have saved on my computer.
C. SAVE SELECTED AREA
Step 1. First, click on your plugin shortcut to save the selected area. From the screen capture options that open, click the Selected area button.
Step 2. After clicking on the selected area button and selecting the area we want to select on the page with the mouse pointer, the options for editing the selected area, saving, and canceling the operation will appear.
Step 3. By clicking the Save button in the middle, you can save the image with a name you want in a folder you have specified on your computer. I chose the save option. You can see the file of the screenshot I saved below. If you want, you can select the edit option and save the image after making the edits. That is all.
Yes, friends, I have explained in detail the three-screen capture options you can do with the Nimbus Screenshot & Screen Video Recorder plugin. However, other options in the drop-down menu can be done for free similarly. I did not explain the video recording option, which is very nice, but when the text is longer than necessary, the reading rate decreases. It is very easy to use, but if you specify the issues you have problems with within the comments section, I will try to help. When you use it, it will suggest you upgrade to the pro version so that some features can be used. As it stands, it works for me a lot, but if you want to use all its features, you can pay for the pro version and switch to it.